We’ve all been there: you’re using your laptop and it gets knocked or a glass spills and suddenly, it’s game over. You dry it off and try to turn it back on, but to no avail. If you have insurance or a warranty, you could get them fixed, but what if you don’t have any cover?
Whether we like to admit it or not, we’re all attached to our gadgets. So, when your laptop breaks, it can leave you feeling lost. Sometimes, it’s beyond hope and the only thing you can do is find the funds to buy a new one. But, before you rush out, please read on.
Help! My Laptop is Water Damaged
First, unplug your laptop, turn it off – hold down the power button to shut it off quickly – and remove the battery. It’s no secret that water and electricity aren’t a good combination, so this must be done quickly, both to save your laptop and avoid an electric shock.
Done that? Here’s what you need to know:
- Unplug any external hardware, like the mouse or USB drive
- Dry the outside with a towel
- Fully open the laptop and place screen-down on a dry towel
- Take out any other removable components – using a screwdriver, you may be able to remove the hard drive and the casing that covers the keyboard
- If any of the internal components are wet, pat them dry
- Leave your laptop face down for at least 24-hours
- Put it back together and see if it works
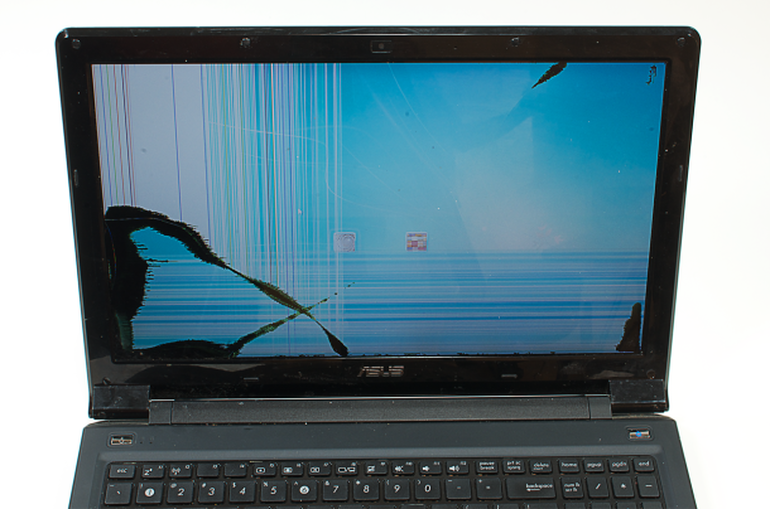
Cracked Screen? Here’s How to Fix It
When a laptop has a cracked screen, it can be rendered unusable. While scientists are developing self-healing glass, unfortunately, it’s not yet a reality.
To replace your cracked screen, follow these steps:
- After unplugging and removing the battery, locate the screws holding the screen in place – these are usually hidden underneath stickers near the hinges.
- Use a pin/needle to remove these stickers and place them to one side, sticky side up.
- Remove screws with a Phillips screwdriver.
- The screen casing it usually clipped in place. To remove it, use a flat tool, like a putty knife to lift – you may need to use a little force to pull it away.
- The screen will be screwed to a metal frame. Remove these next.
- Place the screen face down on the keyboard. Be careful with this step to avoid putting pressure on the attached video cable.
- Remove the video cable – this may be stuck down with tape or glue.
- Take out the old screen and put the new one face down on the keyboard.
- Reattach the cable, put into place and screw to the metal frame.
- Lastly, align the screen, clip the case back into place, and cover screws with the stickers.